At this point, the only thing that remained of the prototype was the car sprite so I wondered about creating a new one myself. It uses 32 different images of the car with different rotations, making for smooth animation and movement on screen.
Whilst I could draw all those frames by hand, I decided to go down a path that could produce assets on demand. That way if I change my mind I can reprocess the assets whenever I feel like it. The initial process was easy to setup, but I’ve been taking and simplifying the automation process ever since.
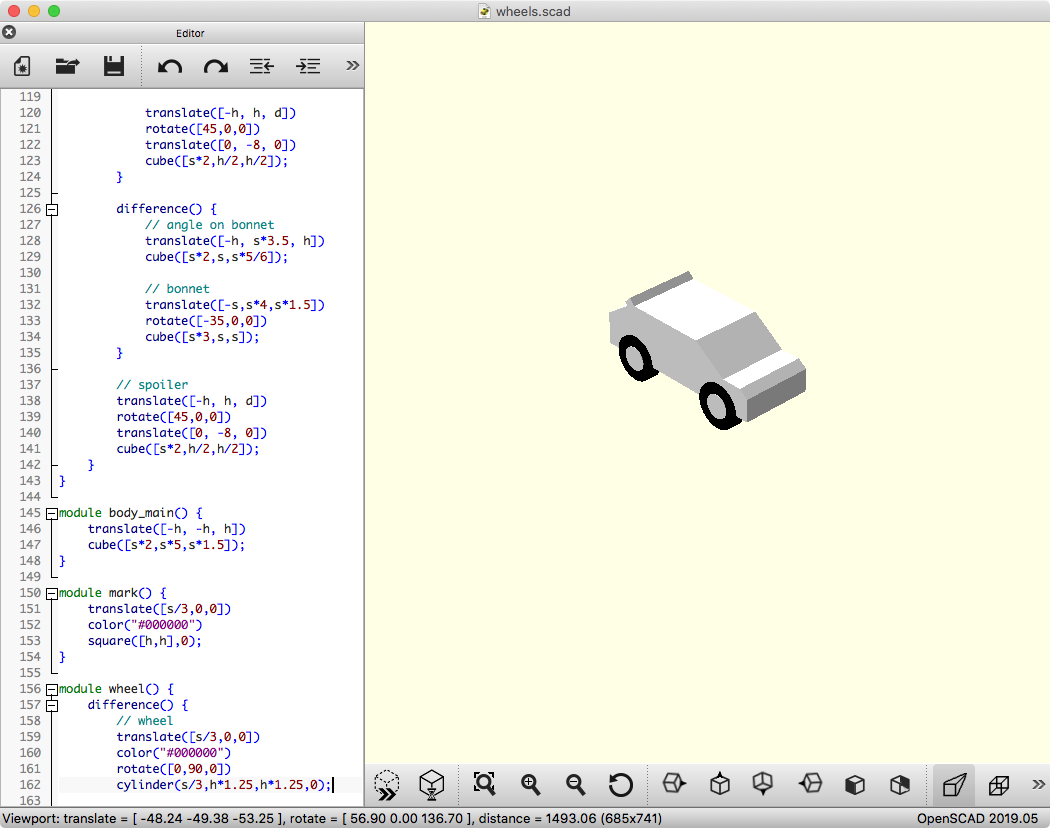
I’d previously used OpenSCAD to create 3D models, so it was a natural and easy choice. Also, it’s the only 3D app I’ve ever used—not even Blender! Models are created using a definition language (think of it as a bit like CSS) where you can define shapes and how they interact. I also use the animation function to set the viewpoint and rotate the car whilst automatically saving the images.
In OpenSCAD I lock the view angle and zoom. I tie rotation to the animation value $t. Then I run the animation and click a box to have the app spit out all the rotated images for me.
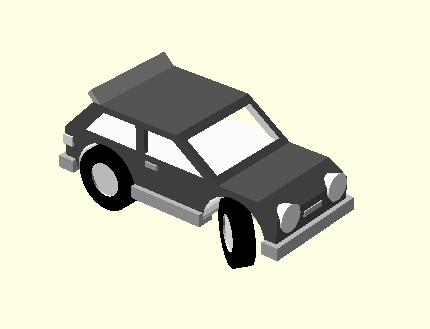
The output images need a little post-processing, so I use a single Retrobatch workflow to: crop, add transparency, invert, a few other things, and finally stitch the 32 images into one long sprite sheet. (On Windows you can use Photobat)

Finally, I run the sprite sheet through a bespoke dithering tool that allows for “live” manual tweaking to convert the greyscale images to 1-bit.
That’s good enough for my current requirements. Later on I would want extra detail in the renders, either through texturing or by hand.
29 May 2020. Soon after I would start rendering the wheels turning and after that the body so it rocks from side to side.