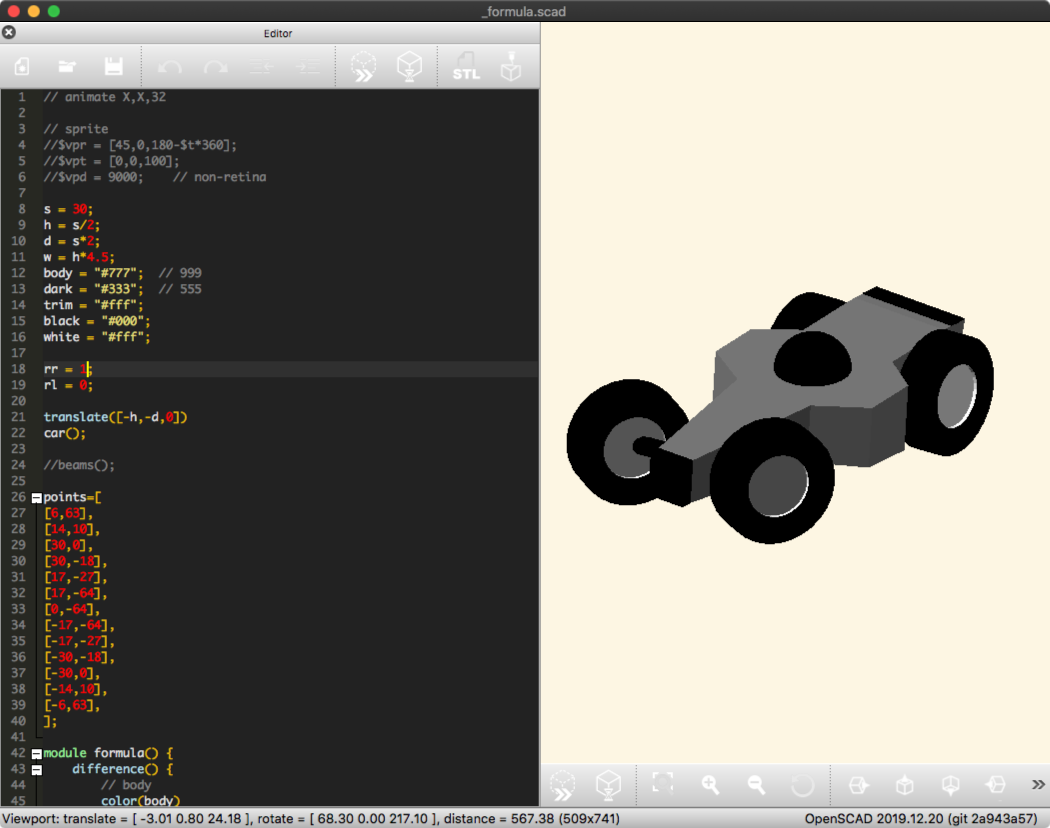
I took the plunge and upgraded to a Mac mini and 4K display so had to migrate my setup and then figure out why my workflow was broken (spoiler: retina!) compared to my old rMBP with non-retina display.
So, my workflow uses the following apps:
- OpenSCAD “The Programmers Solid 3D CAD Modeller”
- Retrobatch “a unique application for automating actions on multiple images at the same time”
- post-processing “greyscale and dithering tool” (I use my own realtime tool, but any image editor would do it to a degree, see this other thread)
This is so I can re-run a workflow at any point (maybe in a make file) which I often do during development. These become executable assets, of sorts, in my project.
OpenSCAD
- define 3D models (I get a feeling like coding CSS in a strange way)
- animate the model spinning through one 360-degree rotation
- dump frames out as PNG files
Here’s the model definition to try out:
I love building 3D this way, it’s kind of like LEGO. I use basic geometric building blocks (cube, sphere, cylinder, polygon, etc) and some boolean operations (difference, intersection, union). There are some other cool things (hull, minkowski). I have the commands in Dash.appalongside the Playdate SDK docs.
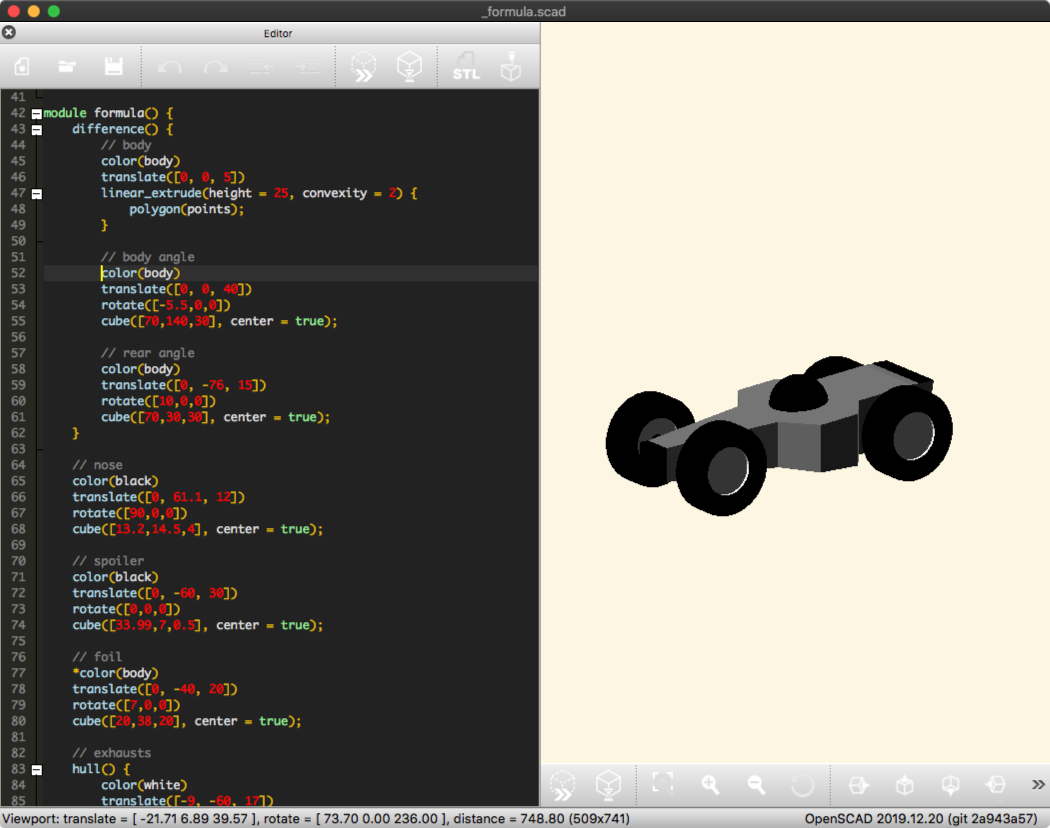
In the image 2 you can see what the model looks like with all the blocks I have used to make it visible at once.
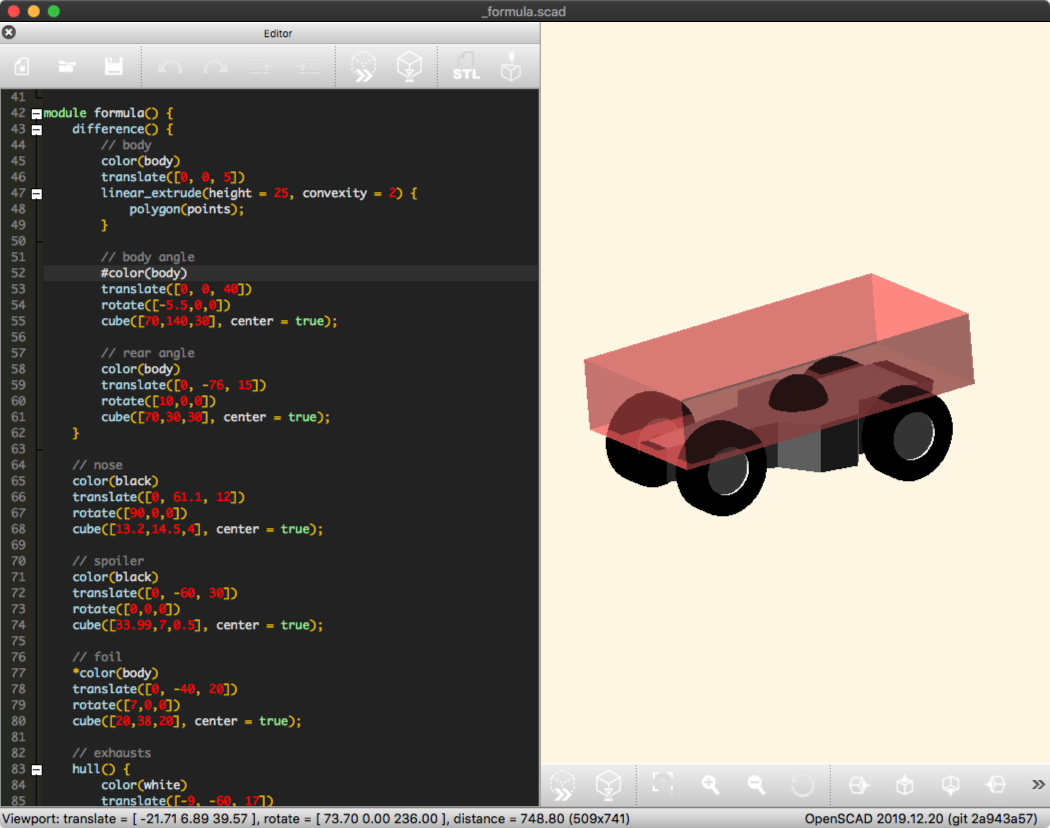
My particular approach is subtractive— kind of like sculpting — I start with large blocks and cut away at them using other shapes and the difference function. When finding the exact placement for a block I use the # precedent which makes the blocks show up as semi-opaque red blocks. See main image.
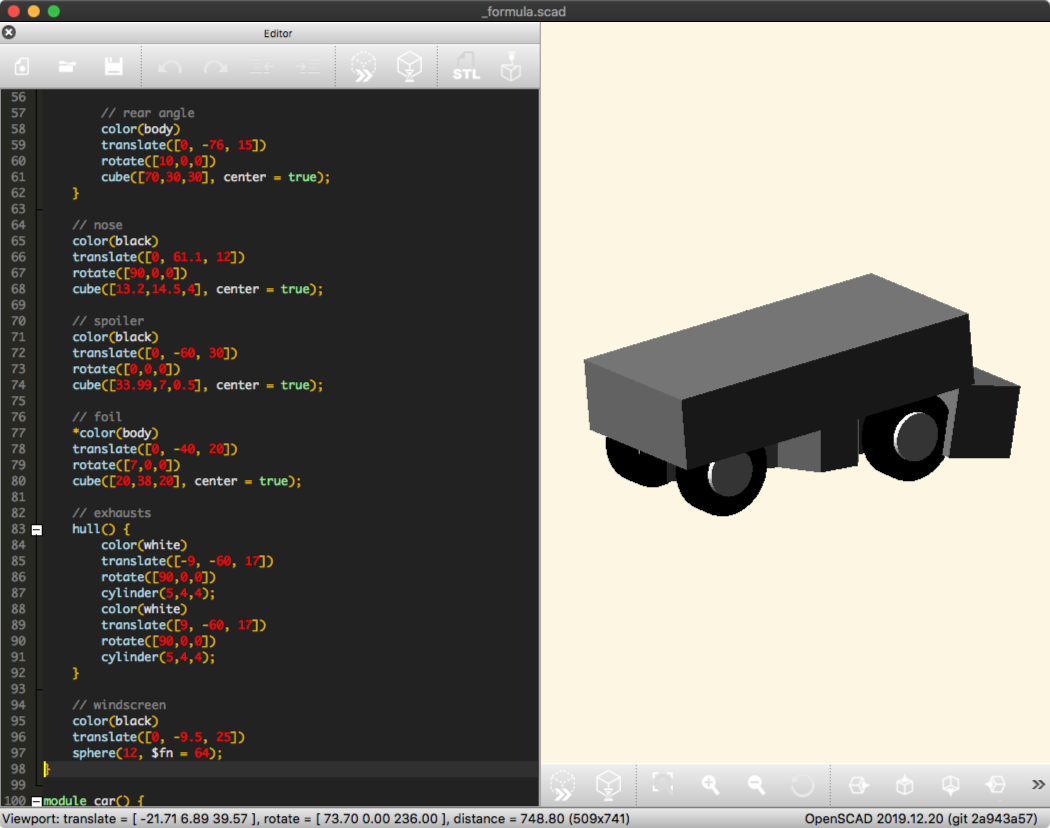
I colour each block in a one or two shades of grey, black and white. This is to help with the conversion to 1-bit later on. It’s not so obvious here as the lighting makes the colours look many different shades - for example the wheels are black with white centre but look grey here. See image 3.
Using some simple programming constructs and variables I can add booleans to trigger different states, I use this for angled front wheels and tilted car body. See image 4.
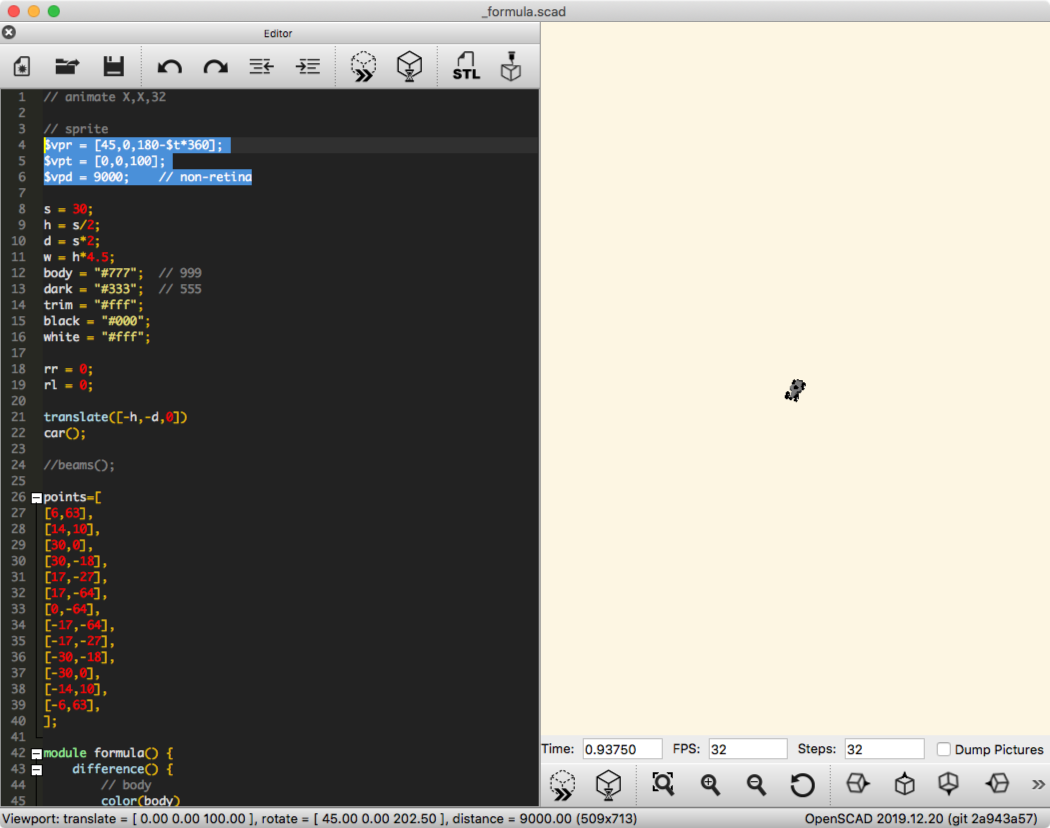
And also to set the distance and rotation of the camera relative to the model when in animation mode. In this mode I enter a speed (doesn’t matter but higher the better) number of frames = 32, and the tick the box to dump the images. The tick disappears when the images are all done. See image 5.
I also rendered the skid marks, car shadow, and some other elements.
There is a lot that is annoying about this app
- not retina-optimised (so I run it in Low Resolution, set using Get Info on the app)
- runs maxed out on a single core
- doesn’t have configurable lighting (I’d prefer uniform or no lighting)
- Qt Framework app, so not really macOS-native
- etc
…but I still use it! I am not aware of anything else quite like it.
