- Difficulty: 7/10
- Cost: < £20
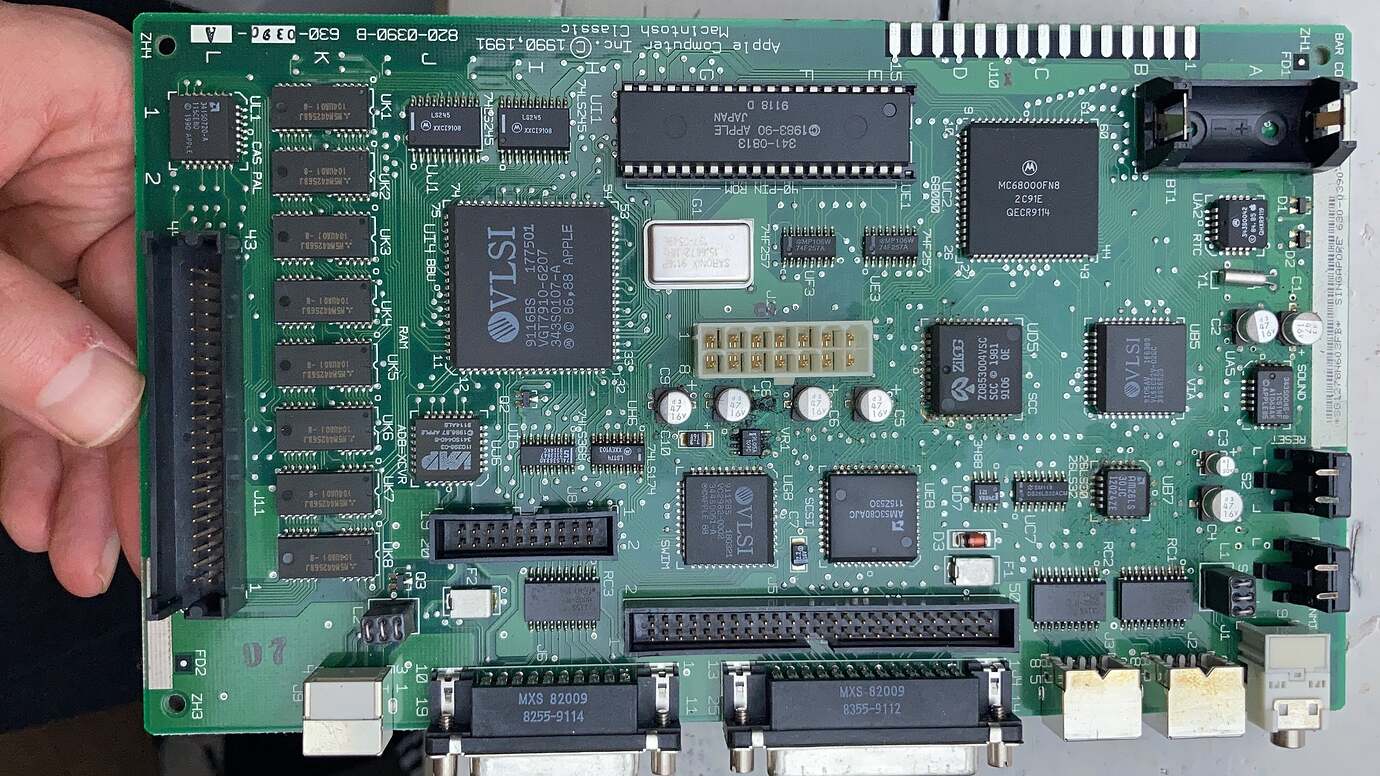
I last used my Macintosh Classic a few years ago. At that point everything worked OK. Switching it on this month I find there’s no sound and it won’t boot. This is par for the course with these 30-year-old machines. Time for a service!
I decided quite early on that I would not rush any part of this, which turned out to be the right decision!
The first thing to do is to check that the PRAM battery hasn’t leaked or worse, exploded, which would cover the logic board in acid and would be uneconomical to repair.
Took me a while to find my long torx bit to open up the Macintosh case. But good news - no battery leakage!
I removed the 30-year-old battery and bought a replacement.
Surprisingly the replacement battery (not pictured) was already 5 years old, manufactured 2017. Not ideal, but it’ll do for now.
Next, I figured I would make a quick system disk as I had figured out that I could boot it from floppy disk if I held down Cmd+Alt+Shift+Del, which is the first odd thing.
Trying to reset PRAM on boot resulting in nothing happening, and there was no startup chime. Two more odd things.
Somebody suggested maybe the keyboard wasn’t working. I booted the System floppy and tested all keys and they were fine.
Next, I disconnected the hard drive to see if anything changed and I was able to boot using the system ROM (a feature only ever found on this specific model). This gets me into a bare-bones System 6 and from here there’s a hidden way to reset PRAM. I did that and there was no change to symptoms.
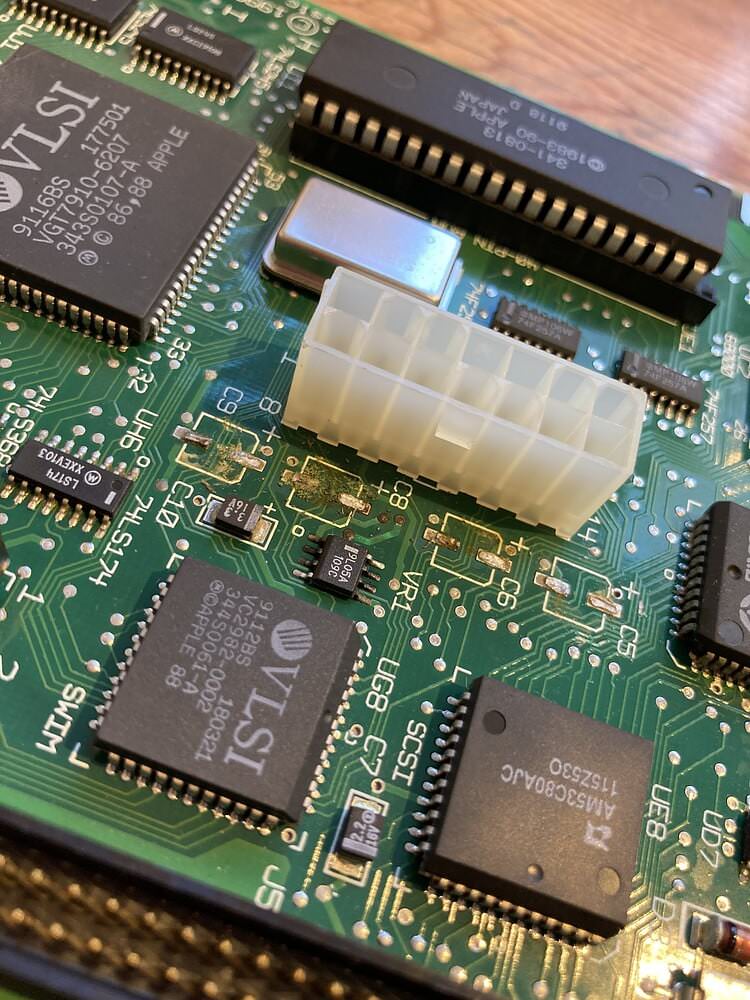
Time to stop delaying the inevitable and take a look at the capacitors. Having never seen a leaking capacitor before I thought that everything looked fine from a cursory glance at the PCB. But with some guidance from 68KMLA forum, and a bit more time, I could see that there was a thin film of almost transparent dried residue surrounding almost all the caps, and some corrosion at the caps near the main power connector. Recap is needed!
Removing the capacitors is the big challenge. I don’t have any dedicated soldering stations or heat flow gear, just a portable soldering iron, a pencil soldering iron and a twinkle in my eye.
I spent a few days looking at YouTube videos and asking for opinions on methods of removing capacitors. Under advice, I found a practice board in a dead AV AMP that had a gazillion capacitors and I used that to practice. In the end I decided I would use the “twist and go” method (that’s what I’m calling it!) which involved using long nose pliers to grab the capacitor from above, and whilst pushing towards the board gently rotating the capacitor back and forth around its centre point. On the practice board some caps were more difficult that others, but I never lifted a pad in some 20 or so capacitors.
I’ve no doubt you could lift a pad if you used a different technique or you went about it recklessly, but I found this seemingly brutal method worked very well. In years gone by I would have rushed this part!
If I can do it on a practice board successfully, on-demand, with one hand, it should be more than believable that it’s possible to do it successfully in better circumstances.
On the Macintosh board they were much easier, and fewer, and I also never lifted a pad. I was left with the odd leg that was easily removed with some excess solder during the cleanup phase.
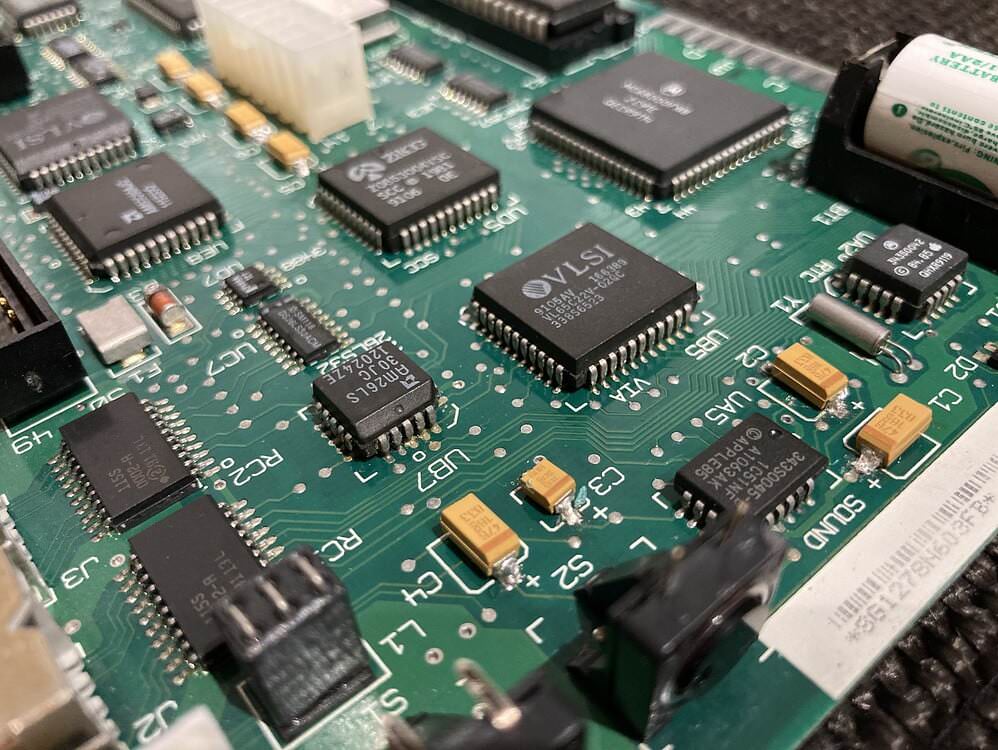
In total 8 capacitors were in need of replacement, and I swapped them with tantalum capacitors which I understand will never need replacing in future. They look different, but I don’t mind that it makes it more obvious that they have been replaced IMHO.
Oh, and I bought some new rosin/flux-core solder of a reputable brand, and that really improved my soldering technique and results compared to when I was using the old/cheap/free solder I had in my tool box. You get what you pay for!
The results are not my finest work, but I would say above average and the machine is now booting well with sound and a faster replacement drive so we’re good to go!
I picked up an extra 2MB of RAM from eBay to take this machine to a maximum of 4MB! That’s megabytes!
All that remains is for me to configure my SD card with the apps and games I like to have around. I’m going for multiple System installs that I can switch between after a quick reboot. Plus Japanese support. This task is made easier and quicker by using emulators to do the hard work many times faster than hardware, and finally copy the prepared disk image onto the SD card.
Then, at last, I will be able to play games on this little thing once more!